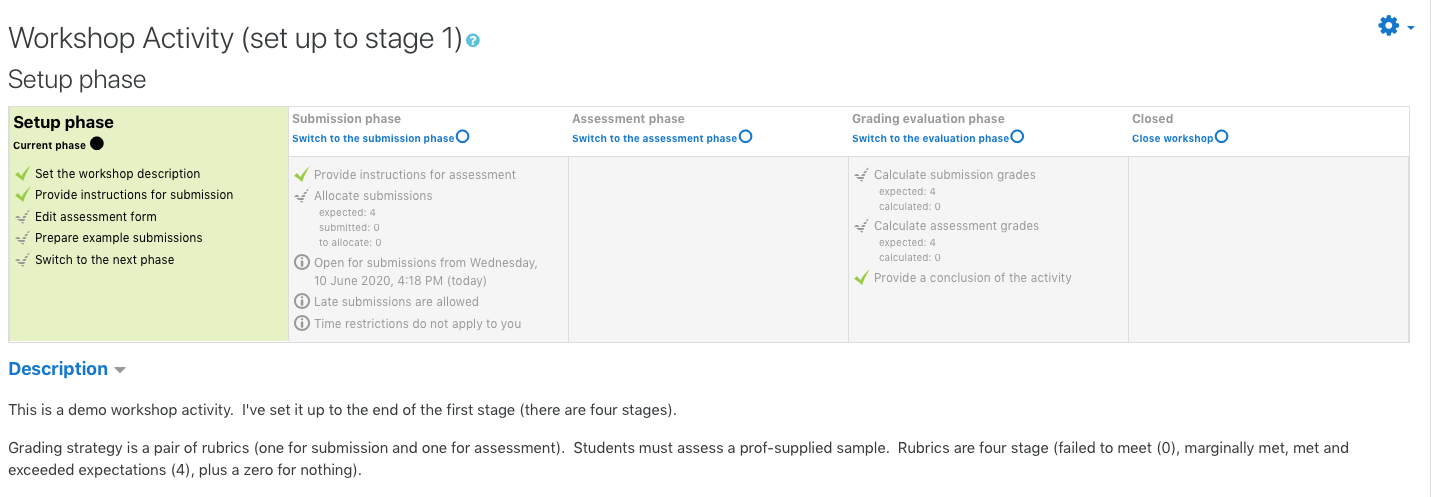
A few people at York have mentioned Workshop as a decent way for students to interact with each other around their school work. It has the potential to be used in a way that is similar to how my wife (as a student) is evaluating other student submissions in an online ETFO (Elem. Teachers Federation of Ontario) continuing ed class. Her experience, and the experiences of other York faculty have been positive, so I'm considering doing it with my 1st year engineering students in Fall 2020.
More on Workshop mode here.
The Workshop mode is broken up into four stages from the instructor's perspective:
- Setup
- Submission
- Assessment
- Grading evaluation phase
- Closed
Before you get started, consider whether you will want your students to be in groups (pairs or otherwise). Groups are set up in the Participants section of the Moodle course page (look for the gear icon).
Set up stage
In the setup stage you do the following
- Name the workshop
- Set up grading (rubric, etc.) for the submission and assessment stages.
- Describe what form the submission takes (e.g. PDF, online text, etc.) and instructions to the student for this (similar too regular assignments)
- Describe instructions for assessment (e.g. what do rubrics mean, etc.)
- Decide whether feedback ("conclusion") is required or optional, as well as whether it should be an attachment or if it can be text.
- Decide whether you wish to provide an example submission for practicing assessment.
- Set deadlines (availbility) for submission and assessment (beginning and end)
- I'd like to incorporate groups, but that doesn't seem to work.
- Set "activity completion" dates
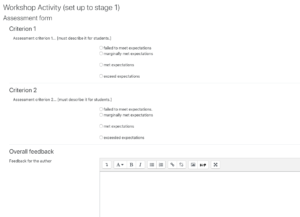
You also need to provide rubrics and a text box to permit students to submit their feedback.
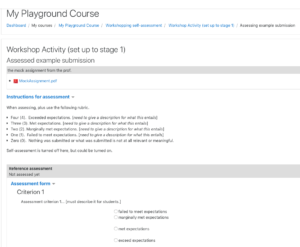
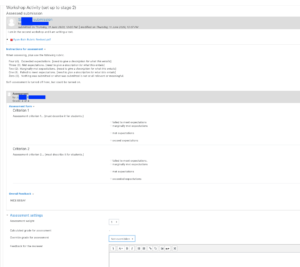
With these rubrics and with a sample PDF "assignment", you now need to provide an example of grading. It'll look like this:
Once you're done with the setup, move on to the Submission phase.
Submission Phase.
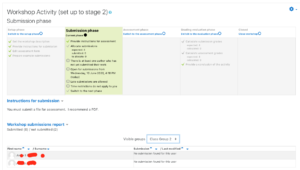
At this stage you can see the following options. Prior to this I had set up student groups. You can see that those two groups are appearing at the bottom of the page.
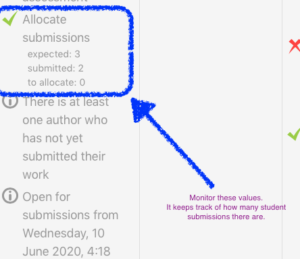
At this point we need to wait for students to submit their assignments. They'll use the grading rules you set up in the first stage. You'll want to monitor the submissions. Once the submissions are done, then you will want to allocate the submissions to individual students so that they can assess their peers.
Allocation step in Submission phase.
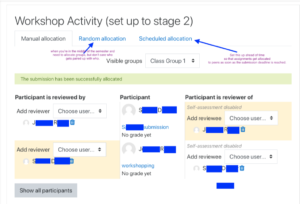
Next, you'll need to allocate student submissions to each other. You can do it manually, randomly or scheduled.
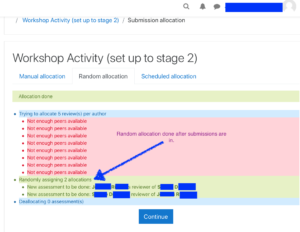
Random allocation of student assessors takes into account whether some students have not submitted their assignments.
Assessment Phase
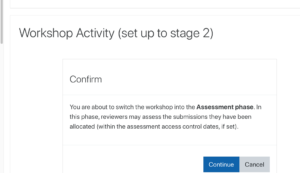
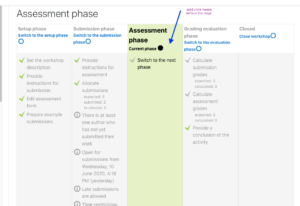
There's not much to do in this stage from the point of view of the instructor. The students will be busy assessing each other. Once they're done, move on to the Evaluation phase.
-
- Grading Evaluation Stage
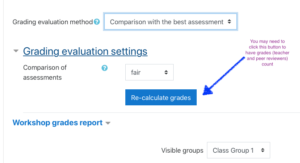
After the students have had a chance to asses each other, the instructor needs to look at their assessments. This is the Grading Evaluation Stage. Think of it as "quality control." If you don't do this before moving on to the next stage then all the students will get a zero in their grade book.
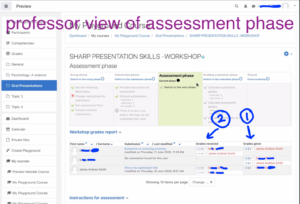
Now that you're in the Evaluation Phase phase, you can look at how the students have evaluated each other.
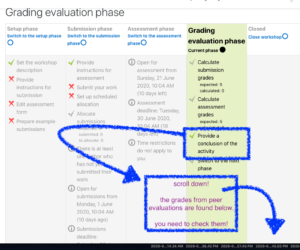
Scroll down! To provide instructor feedback and to override feedback and grades students gave to each other you need to scroll down.
Here you can see how the instructor overrode the peer assessment.
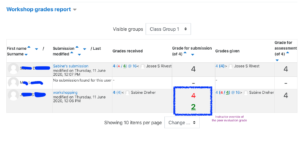
instructor overrode the peer assessment. Providing feedback to the assessor can be really important, too!
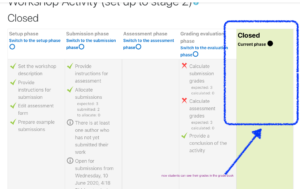
Closed.
Once you are done providing feedback to the assessors and maybe you've changed some grades, it's time to close the workshop. Once you've closed the workshop the students will be able to see their grades in the grade book.
Take 2: looking at Workshop from the student perspective.
The Workshop tool has a lot of potential. But it is complex and likely will take me a while to get used to it.
Together with my Glendon and LAPS collaborators we've been working out the process for setting up and using Workshop. Here it is from the "student perspective" (I was enrolled as a student in this course).
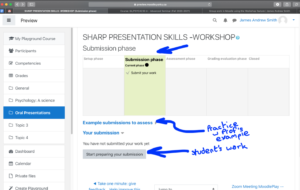
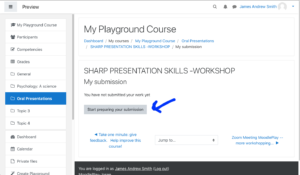
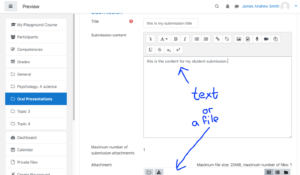
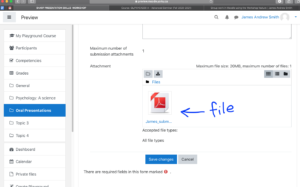
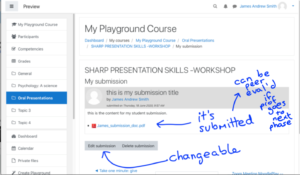
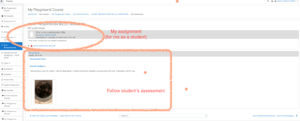
The student can see an example submission courtesy of the professor. The student will then submit a file at this stage
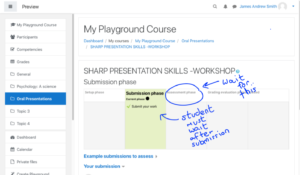
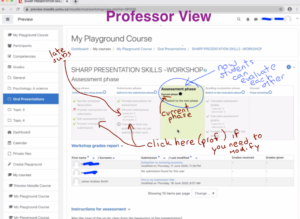
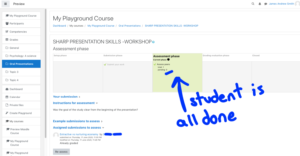
All done with the submission? Wait until the green moves to the right... into the assessment zone. That's done by the prof, either on schedule or at a different time.
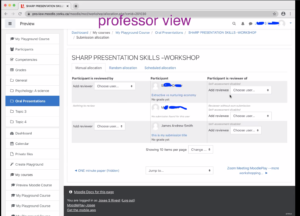
The prof should keep an eye on the submissions. Either on schedule, or manually, the prof then needs to allocate students to each submission to act as reviewers/assessors. The random tab is a decent compromise for large classes.
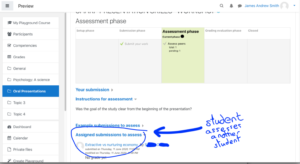
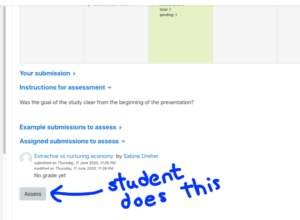
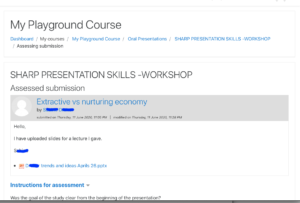
Students will see that they have other assignments to assess. They should select them here and then provide feedback to their peers.
Student assessment phase
When assessment is underway this is what the students see and do...

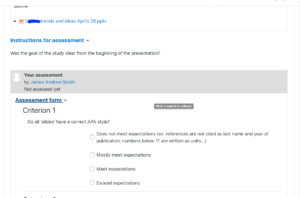
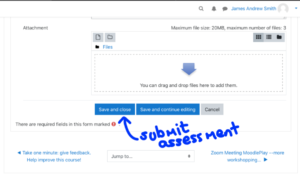
the student uses the provided marking guide / rubric to conduct the assessment.... and there's a text box for comments.
here is a view of what the student sees after she's been assessed and wants to check out the feedback from a peer
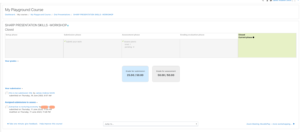
Grading is broken down into two parts, one based on the student's assignment and one based on how the student assessed her peers.
Grading is broken down into two parts, one based on the student's assignment and one based on how the student assessed her peers. Note that the student appears to receive a higher grade if her assessment is in line with the assessment grades from other students on the same assignment. Outlier peer assessments appear to get penalized. For this reason it may be a good idea to make sure activities ungraded (just 'comments' based)
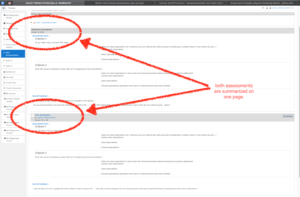
The student can compare the mock assessment to the peer assessment. Probably a good idea to make sure that the review isn't off-base.
The prof then needs to look at all the assessments and modify student feedback / grading prior to releasing the grades to students.

